Game Boy cartridge dumping on a Raspberry Pi - Part 1
Ever since seeing an emulator for a Game Boy color I’ve wondered how those things can work. How can they take a cartridge, a little box full of electronics, and turn it into a program you can run on a normal computer? Surely a cartridge can do anything it wants, so what magic is used to turn that into a file?
Since those days I’ve obtained a lot more knowledge about the internals of a Game Boy. The magic slowly turned into understanding of memory banks and addressing. It was sad to realize only a handful of cartridges contained anything besides ROM, RAM and maybe a battery and RTC.
Still… I never feel like I understand something truly until I’ve done it myself. After reading about InsideGadgets’ Arduino-based GB cart reader (an awesome guide without which I probably would never have been able to do most of this), I got intrigued by trying to do the same on a Raspberry Pi. In fact, contrary to an Arduino, I see no reason an emulator on a Raspberry Pi couldn’t play the game directly from the cartridge, maybe even using the save game on the cartridge.
Many people turn their Pi’s into emulation stations, cut up Game Boys or SNESes to turn into cases or hook them up with original SNES controllers, but I am not aware of anyone doing what’s mostly considered the only legal way to use emulators: dump your Game Boy cartridge yourself. The dumping a SNES cartridge directly with a Pi has been done, though I hope I can do better than 34 minutes for a 4MB game.
The materials
Header
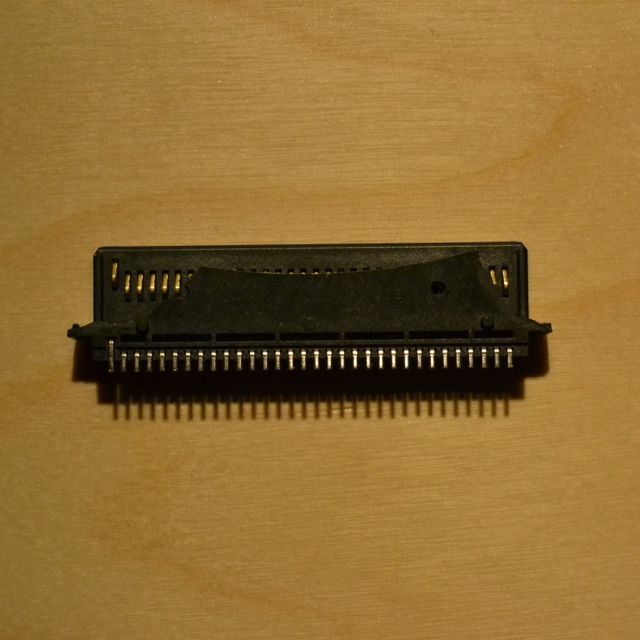
First, we need to be able to connect to a cartridge. As I don’t want to make the cartridges unusable for anything else (no opening or soldering on the cartridge), I needed a cartridge header to connect to the cartridge’s pins. Don’t worry – no actual Game Boys have been harmed in the construction of this project.
As pointed out in the comments on InsideGadgets’ guide, this $2.50 replacement part for a Nintendo DS lite can be used to fit Game Boy cartridges. The Nintendo DS has a Game Boy Advance cartridge reader, but it’s made to only allow Game Boy Advance cartridges, not those for the Game Boy/Game Boy Color. However, by breaking off the small edges that don’t match (you can see it in the picture), it is easy to make Game Boy and Game Boy Color cartridges fit.
IO-Expander
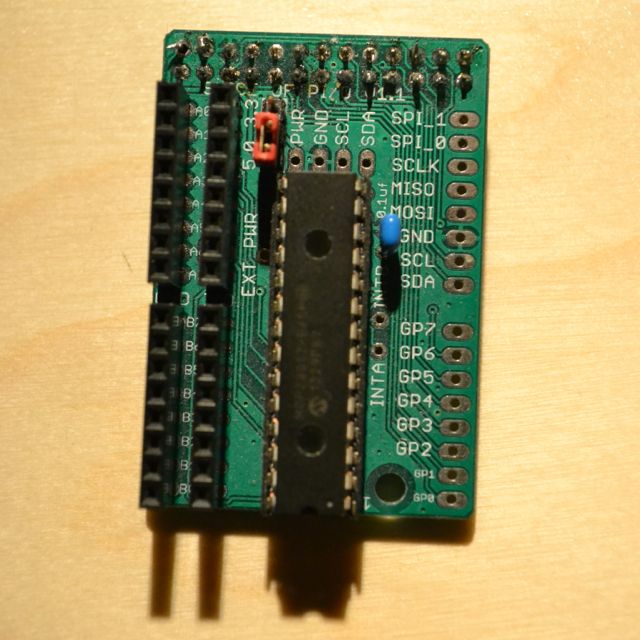
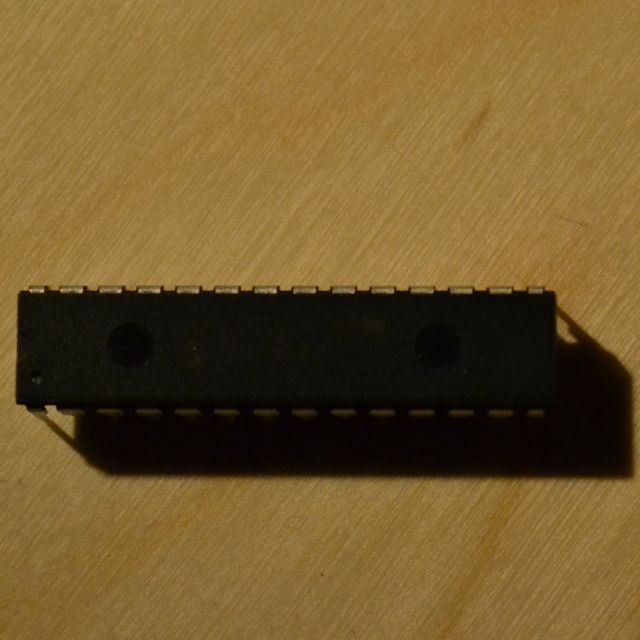
Next up, the schematic showed that to dump a cartridge I would need at least 18 digital output and 8 digital input pins. The 16 GPIO pins of an Raspberry Pi are not enough for that, so I got myself a Slice of PI/O board, which features a I2C MCP23017 16-pin IO expander. This is also going to take care of level switching from 3.3V on the I2C pins to 5V for Game Boy/Game Boy Color cartridges (beware if you want to modify it for Game Boy Advance cartridges: those do use 3.3V). This should be safe, but be careful to not expose any of the GPIO pins to 5V directly.
More expanding
Now I have 16 pins I can address over I2C, not yet 26. I could have repurposed some of the other GPIO pins, but those still need level shifting. I could also have added some shift registers after the Slice of PI/O, but in my experience, this is slow and complicated to address. So I decided to daisy chain another MCP23017 to my Slice of PI/O. The Slice of PI/O already has the connectors needed to do this, I just had to solder a header on there and hook it up.
The rest
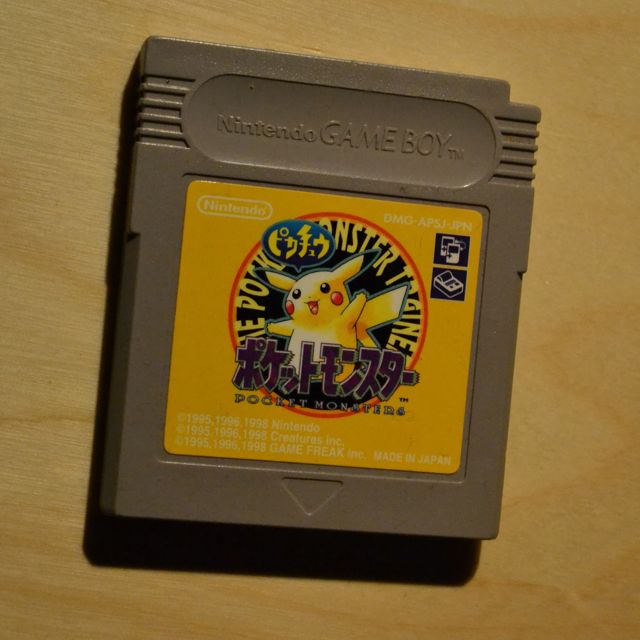
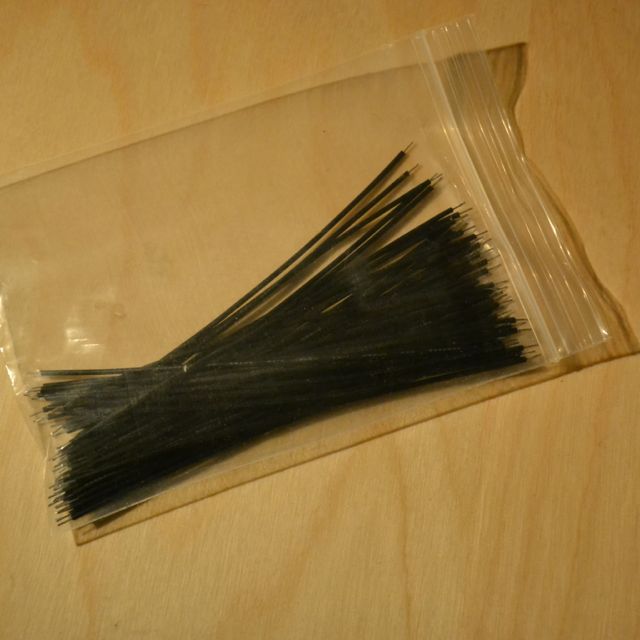
I also grabbed some cheap cartridges to experiment with and a lot of thin wires for the cartridge header from eBay. Of course I’m also going to need some resistors and a breadboard for most of the wiring. (I didn’t gut a Game Boy to put this in… Yet.)
To hopefully be continued!
Recent posts
- The Wrong Number Attack
- Common DH groups
- Out with octopress, in with Hakyll
- Validate the encoding before passing strings to libcurl or glibc
- Multi-end to multi-end encryption
Copyright © 2024 - Thijs Alkemade
Site proudly generated by Hakyll.